5 min read / 15 June 2023 / Laura Garvin Gomez
How to Make Candles at Home
Discover the art of candle making from the comfort of your own home with our step-by-step guide.
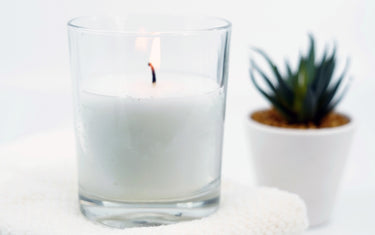
Learning how to make candles is not as complicated as you may think, and you only need a handful of ingredients to craft your own at home.
When combined with essential oils, you can enjoy a wonderful scent throw in any room, along with a host of aromatherapy benefits that can ease stress levels, helping you to relax or giving you a much needed pick-me-up.
Here we look at how to make candles at home, along with the benefits of using essential oils and some helpful tips you can use to make the most of your newfound hobby.
What are the benefits of using essential oils in candles?Numerous studies have produced results showing the positive effects essential oils can have on the immune system and nervous system. Research indicates that they can have a positive effect on the limbic system, a part of the brain that plays a central role in helping to control our behaviour and emotions. The limbic system works in collaboration with our brain to help control things like memory, stress levels, breathing and hormone balance. When we inhale a scent that evokes a particular memory or feeling, that is the limbic system working its magic. The scent is first received by the olfactory nerves in our nose, and when the air touches the cilia (the lining of our nose cavity), the brain is sent a signal to register it. The scent also goes directly into your body, including your bloodstream and lungs, which is where some of the other health benefits provided by essential oils can start to work. |

How to make candles at home
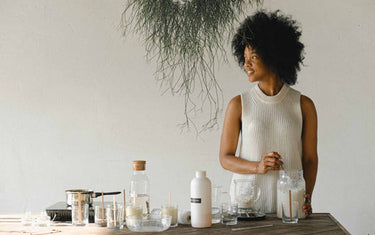
Before you start to craft your own candles, you’ll need to gather some materials and equipment to make your own candle at home. If you don’t already have some of these items at home, they should be easy enough to track down:
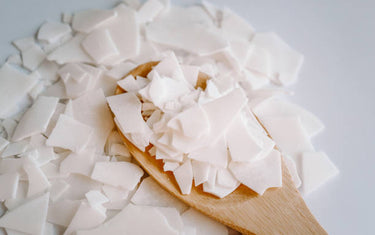
- Soy Wax
- Wick
- Glue Dots
- Heat Proof Bowl
- Candle Container
- Essential Oils
- Colour (optional)
- Skewers
Once you have everything you need, follow the instructions below to make you own candles:
- Position the wick: The first thing to do is to place the wick into the candle container. You can use an old candle container, glass jar or anything that offers good heat resistance. Add a glue dot to the middle of the bottom of the glass and attach the wick so it can set in place.
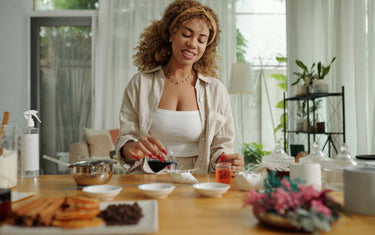
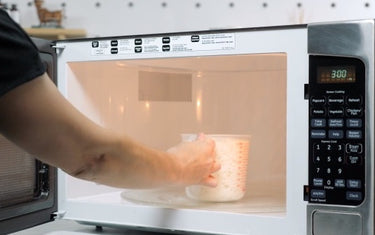
- Melt the wax: The biggest job is to melt the wax, which can be done using a double boiler in a pot on the cooker. Use slightly less amount of wax than the container will hold. For example, 360g of wax for a 400g container, so you can leave enough room at the top for the wick. Slowly warm the wax on medium heat, stirring slowly to ensure it melts without catching.
- Stir in the essential oils: You can now add in your essential oils of choice to the mix. You can use a combination of oils or just one, depending on what kind of fragrance you want the candle to release. Around 30-40 drops (in total) of essential oils should be enough to create an even and long-lasting scent.
- Add a dash of colour: Some people also like to colour their candles using candle dye. This is optional, of course, but it can add a little bit of fun and ensure the candle complements the décor of the room.
- Stabilise the wick: To ensure the wick remains centred in the container, place two skewers across the top of the container, with the wick positioned in-between.
- Pour the wax: Take the wax off the cooker and let it rest for 5-10 minutes. Then, carefully pour the wax into the container until it reaches just below the top. It’s important to pour slowly as this will help to minimise air bubbles.
- Cure the candle: The wax will need some time to cure, with soy wax hardening in 4-5 hours and curing fully within 3-4 days. When the candle is dry, remove the skewers from the container, trim the wick and the candle is ready to use.
Lavender essential oil can be used in candles to help you fall asleep, or a bright citrus oil like lemon or bergamot could be used to wake you up in the morning.

What are some helpful tips for making candles?
You can follow the steps above to make your own candle and also bear the following in mind:
- The curing process is important as it allows the essential oil to spread more evenly into the wax so you can enjoy the best scent throw possible. It is worth waiting 3-4 days for the candles to cure fully as the fragrance should be at its highest after that.
- Use a double boiler (a heat resistant container that sits in a larger pot of boiling water) to melt the wax and do not melt directly on the surface or leave unattended.
- A few spills may happen along the way, so be sure to clean these up as quickly as possible, as melted wax left near a burner is considered a fire risk.
- Hang onto any candle scraps left over from making candles as these can be reused again in the future.
- There are lots of ways you can make your candles more decorative, with flowers, ribbons and other colourful designs adding the perfect finishing touch – especially when given away as a gift.

Learning how to make candles is easy, and it can save you a lot of money in the long run. It doesn’t cost much to do, and rather than paying a premium price for an expensive candle, you can enjoy your favourite essential oil all thanks to your own creative skill. You can also use the essential oils in soap making recipes, topically (with a carrier oil) on your skin, or even in the bath (with carrier oil), giving you lots of different ways to unwind without relying on chemical-based products.


