7 min read / 1 October 2024 / yasmin sharp
2. Basics of Soap Making
Learn the basics of soap making, from types and essential ingredients to necessary equipment, in this comprehensive beginner's guide to crafting your own soap.
Share this post
Soap making may seem like a complicated process that can only be done by experts, but that is far from the truth.
While it’s true you will need a wide range of ingredients and equipment to make good quality homemade soap, it is something that anyone can learn. Before starting your creative journey, lay the groundwork for soap making basics by familiarising yourself with the tools and soap making techniques needed along the way.
Making your own soap gives you more control over the ingredients you use, so you know exactly what you are applying to your skin. And it also opens the possibility of starting your own soap making business.
We explain the basics of soap making, helping you to understand what you need to do to get started.

Types of Soaps
Some of the different types of soaps you can make include:
1. Bar Soap
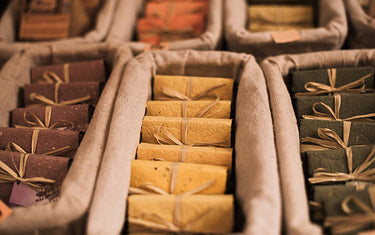
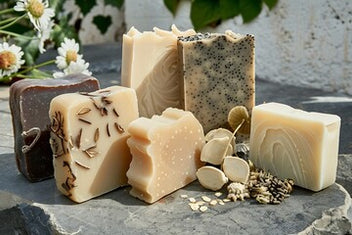
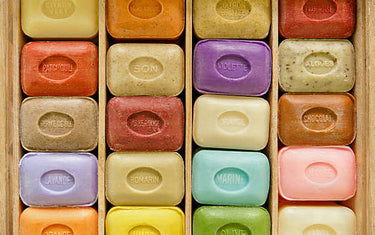
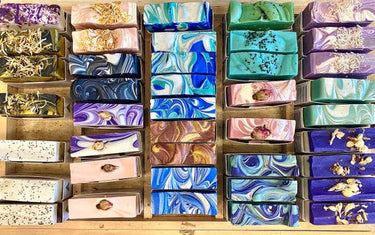
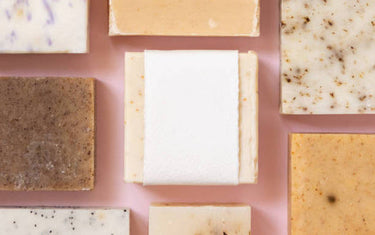
Bar soaps are typically oblong and come in various sizes, but they can also be moulded into pretty much any shape, depending on how creative you want to be.
They are an environmentally friendly option as they don’t require plastic packaging which helps to minimise wastage. You can make handmade, medicated or scented varieties and because of their longevity, this also makes them cost effective.
Bar soaps are best used in the family home, as it is not considered hygienic for many different people to use the same bar of soap.
2. Liquid Soap
Liquid soap is packaged in pump bottles, which makes them convenient to use and a hygienic option for homes and businesses.
Because they tend to have a low pH level, liquid soaps are hydrating and kinder to skin, making them particularly useful for people with dry and sensitive skin types.
The packaging can be a downside for some, as the soap needs to be held in plastic containers, which makes it less environmentally friendly.
3. Glycerine soap
Because glycerine is derived from plant-based oils you can also use it for DIY soap making. It’s 100% natural and vegan-friendly and one of the best types of soap for people with sensitive skin.
So, if you want to make products to help people with eczema, acne or generally have dry skin, glycerine soap could be a good option. And because glycerine is non-greasy, it can also be a good match for people with combination or oily skin.
Glycerin absorbs water very easily, so its humectant effects may be irritable for people who have very oily skin, so you may want to advise customers to carry out a patch test.

Essential Ingredients
1. Oils
You will need to use oils for soap making, with the most common being:
- Coconut oil: If you want a soap that lathers easily, coconut oil is ideal. While it’s highly cleansing, it can dry out skin if it is the only oil used to make the soap.
- Olive oil: For a bar that offers better moisturising properties you may want to use olive oil. The oil creates a small amount of lather, and bars are initially soft but become harder as they cure.
- Palm oil: Palm oil is known for its hardening and lathering properties, which helps to create a steady foam and firm bar of soap. While it is regarded as one of the best oils for soap making, it is not the most sustainable, so it may not be a good fit if your brand is centred on being eco-friendly.
2. Lye (Sodium Hydroxide)
One of the most essential ingredients in soap making is lye – a general term used for two different alkaline compounds known as Sodium Hydroxide and Potassium Hydroxide.
They both have a very high pH which makes them caustic and they can cause chemical burns if you do not protect your skin.
Chemical reactions neutralise lye in the soap making process due to something called saponification, which removes any harmful substances and maximises its cleaning power.
When using lye you should:
- Only use 100% lye – anything with additives or impurities can react badly with other ingredients.
- Always wear protective gloves and goggles when handling lye.
- Place the container holding the lye inside the sink until it is ready to use, because if it is knocked over it will only go down the drain and not across worktops and floors.
- Only pour lye into water (start with cold water to manage the fast-rising temperature) and not vice versa as it can cause the splashes or explosions.
- Avoid using aluminium equipment and only use stainless steel pots, rubber spoons, plastic pitchers and measuring cups.
- When lye is added to water it becomes very hot, almost boiling, so only use heat-safe plastic containers and not glass.
3. Water
As we mentioned in the safety tips above, you will need to pour lye into cold water as part of the saponification process.
You should use twice the amount of water than lye in your solution, as this will avoid a build-up of glycerine and make the process more efficient.
In terms of the type of water you should use, opt for either distilled water or you can add chelators to your soap.
Using hard water (from the tap) can affect the saponification process, so switching to distilled water will give you a cleaner finished product.
For the chelators, sodium citrate, citric acid and EDTA (ethylenediaminetetraacetic acid) are the most commonly used in soap making.
4. Optional Ingredients
While some ingredients for soap are essential, others are not, so it all comes down to the type of product you want to make:
- Fragrances: As a DIY soap maker, you may want to add some scents to your products. Choose between essential oils (natural) and fragrance oils (synthetic) depending on the type of aroma you want to create.
- Colourants: You’ll have a similar decision to make for any colour you add to your soaps. There are natural and synthetic dyes you can use, so it all comes down to personal preference.
- Additives: Once you progress past the early stages of beginner soap making you could include additives in your recipes. Adding exfoliants, herbs, natural preservatives and surfactants can help to shape the texture, benefits and overall appearance of your products.

Equipment and Tools Needed
When it comes to soap making equipment, using the following will make the process much easier to manage.
1. Safety Gear
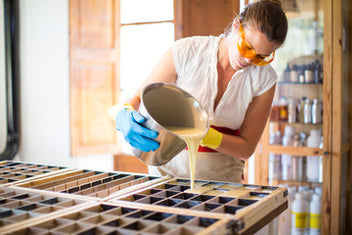
Safety matters when you are making homemade soap, so you should invest in the following to give yourself added protection against hot splashes and chemical burns:
- Goggles: You can buy effective goggles at a relatively low price, which will give your eyes much needed protection against splashbacks.
- Gloves: Invest in rubber gloves that reach up to your elbows to cover your hands and forearms.
- Long sleeves: It’s always important to wear long sleeves to ensure no lye comes into contact with your skin. Long sleeve trousers are also a good idea and avoid wearing flip-flops.
2. Basic Equipment
The soap making equipment essentials you will need to have to hand include:
- Mixing bowls: Stainless steel mixing bowls only – avoid using aluminium as it is not a suitable material for lye.
- Measuring cups and spoons: These should also be stainless steel and not aluminium, as they will not only be used to measure the ingredients but to mix the lye later on.
- Digital scale: Digital scales offer more accuracy, and because making homemade soap is such a fine art, you’ll want to ensure you have the exact measurements you need to create the perfect product.
3. Specific Tools
- Stick blender: To mix your soap ingredients you’ll need a stick/hand blender. Once you use it for candle making it shouldn’t be used for food again, so invest in a cheap second hand blender that is meant only for blending candle ingredients.
- Soap moulds: You can buy specialised soap moulds for specific shapes, or use things like yoghurt pots, empty pringle pot or anything else (as long as it is lined with a silicone mould).
- Thermometer: Certain ingredients need to be added at set temperature points, so you’ll need a thermometer to assess the right time to pour, mix and blend them together.
4. Optional Tools
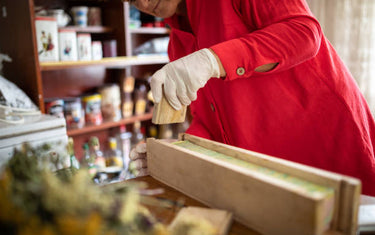
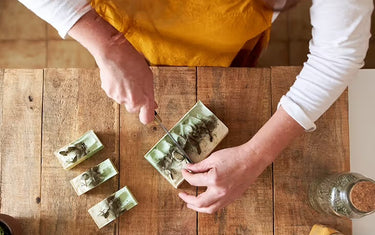
- Soap cutter: If you want to be even more precise with your bar sizes, invest in a wooden soap cutter to splice your soap loaves into the exact size you need.
- Spatulas: Flexible rubber spatulas can help you get more of the soap out of the bowl and into the moulds so you minimise wastage.
- Parchment paper: You can use parchment paper, waxed paper or greaseproof paper to line your mould (if you have a soap box lined with a silicone mould).

Conclusion
Whether you want to make bar soap or liquid soap, the type of soap ingredients you'll use will be pretty similar.
Once you have the oils, lye and distilled water, mixing bowls and measuring tools and the right safety gear to protect your skin, you can get started.
The soapmaking process is not only straightforward but a lot of fun, allowing you to draw inspiration from your creative side and potentially earning you some extra cash if you want to turn a hobby into a business.
Learn more about the process of soap making by reading our comprehensive guide.
And to save yourself some money along the way when considering soap making supplies, going the wholesale route is the smart option. This allows you to get discounted bulk fragrances and essential oils, so you can really make your products look, feel and smell unique.


