4 min read / 11 June 2024 / yasmin sharp
How To Make Marble Candles
Learn how to create stunning marble candles with our simple techniques, adding unique designs and vibrant colours to your home decor.
Share this post
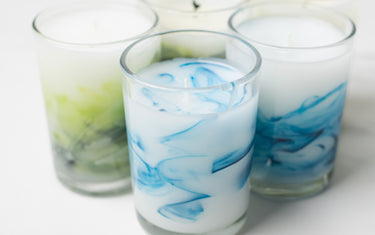
To add that extra artistic touch to your creation, making marble candles allows you to have a unique design each and every time.
Whether you are selling candles or simply enjoying them for personal use at home, marbling candles ensures they stand out and make an instant impact in the room, without having to let the container do all the hard work.
Here we look at how to make colourful candles using two simple techniques that are very similar to the traditional methods you are probably already used to.
What are marble candles?Marble candles are simply candles that have been made to recreate the look of marble stone. They can be made by bleeding two or more colours together to create a smoky effect in the wax, allowing you to make unique looking candles each and every time. |

How to make marbled candles
Before you learn how to make multi-coloured candles, ensure you have the following to hand:
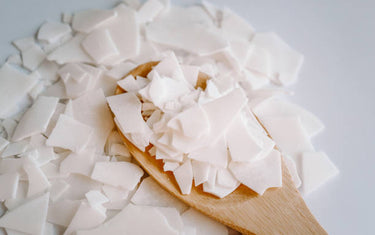
- Soy wax (enough to fill your chosen container)
- Colour dyes
- Essential oils or fragrance oils of choice
- Candle wicks
- Thermometer
- Skewer
Instructions on how to make marble candles
- Choose your container and measure the amount of wax needed to fill it. Leave a small gap at the top of the container and leave aside a little more wax as this may be needed to fill any sinkholes that develop later on.
- Add the wick to the container, following the instructions provided with the product, before leaving it aside until you are ready to pour the wax.
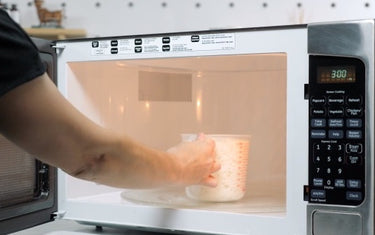
- Place the wax into a double boiler on the cooker and start to melt, making sure you stir regularly. Use the thermometer to check that the temperature does not exceed 65°C.
- Remove the melted wax from the hob and leave it to cool for a few minutes before adding your dye and any essential oils/fragrance oils and mixing well.
- Pour the mixture into the container, stir, and then leave it to cool for 30-45 minutes and it should start to slowly solidify.
- Use a thin skewer or wire to create holes in the wax around the edge of the container. Pierce the wax all the way down to the bottom for some of the holes and only halfway down for the others – the more hole’s you make, the more the colour will bleed together.
- Carefully pour a very small amount of dye into each of the holes.
- Take a hairdryer and use it to re-melt the wax, which will allow the dye to move down the holes. You can direct the movement of the dyes inside the wax with the hairdryer, giving you more control over how the colours blend. To create more movement, roll the container (ensuring it isn’t too hot) between your hands.
- Leave the wax to cool for at least 24 hours, which should be enough time for the wax to fully harden and the fragrance/essential oils to cure.
You can then remove the wick bars and trim the wicks to around ¼ of an inch. The candle is then ready to use and enjoy!

Other ways of marbling candles
There is another way you can make DIY marble candles, which involves ‘painting’ the effect onto the inside of the jars.
This will give you more control over the final dye pattern, so you can have a more precise design to suit your tastes.
- Follow the same instructions above up until step 4.
- Pour the melted wax into your container and leave it to set for a little while, although make sure it does not completely cool. Aim for around 55°C, as this will allow you to move the dye around without it bleeding across the whole candle.
- Add some dye to a skewer and place it into the side of the wax inside the jar, which will create a swirling pattern as you move it around.
- When you’re happy with the design, place the container to one side and leave it to cool for at least 24 hours.
You can then remove the wick bars and trim the wicks to around ¼ of an inch. The candle is then ready to use and enjoy!

Final thoughts
If you want an eye-catching design that adds a pop of colour to the room, then marble candles are always a good place to start.
The beauty of these types of candles is that no two designs will ever look exactly the same, giving you more pattern variation.
Whether you’re an experienced candlemaker or are brand new to the craft, simply follow the instructions above to get started.


