5 min read / 20 June 2023 / Laura Garvin Gomez
How to Make Candle Moulds at Home
Discover the secrets of crafting homemade candle moulds with our expert guide.
Share this post
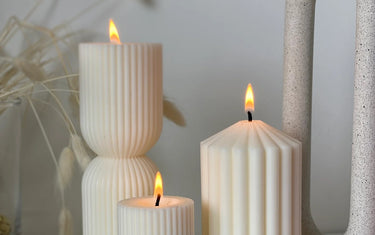
For anyone who has made their own candles at home, the natural step to take next is to learn how to make moulds for candles.
It opens you up to a whole new world of creativity, allowing you to craft your own designs that reflect your style and personality.
In this step-by-step guide we explain how to make DIY candle moulds at home, so you can enjoy the colour, fragrance and ambience that works best for you.
What is a candle mould?A candle wax mould is simply a silicone or other form of container that is used to shape melted wax. You can also use almost any shape of container, and once the candle has been lit it burns in the same way as usual, with the added bonus of being a decorative feature that will brighten up any room. |
What household items can be used as candle moulds?
The best thing about making your own candle moulds is that the possibilities are endless: almost any item can be used to create innovative and fun shapes for moulded candles. Here are some examples of objects that are often easily accessible within and around your own home:
- Decorative objects: Small statues and other decorative ornaments can make for unique, eye-catching candles.
- Children’s toys: Toys such as action figures, animals or even LEGO bricks can create whimsical custom shapes and be a fun project for the whole family to take part in.
- Pine cones and tree branches: Perfect for homemade Autumnal decor, pine cones and tree branches of all shapes and sizes add a rustic charm to your candles. Thicker branches can also make for homely, textured pillar candle moulds.
- Sea shells: For a more tropical look, consider using empty sea shells or even conch shells for Summer holiday inspired candles.

How to make candle moulds
What do you need to make candle moulds?
The first place to start is to check that you have all the ingredients and equipment needed to make candle moulds. You’ll only need a handful of ingredients, so use the list below:
- Container (to pour the silicone into around the model, a tupperware container is perfect for this)
- Items being used to make the mould model (what you want your candle to look like)
- Liquid silicone rubber kit (you can use this term to find one online)
- Disposable container
- Disposable stirring stick
- Hot melt glue
As a first-time silicone candle mould maker, we recommend that you use a mould that is small and simple, as it is easier to learn the process.
When you have all your supplies to make candle moulds, carefully go through each step below:
- Prepare the container: Clean and dry the container, if needed, and if there are any seams, use glue to seal it shut to stop any liquid rubber from leaking once it is poured in.
- Prepare the model: Place the model inside the container. Make sure to think about how you want to place the model. Whatever side you place to the bottom of the container will be the open part of the candle mould.
- Prepare the silicone rubber: Most silicone rubber kits will come in two parts that need to be mixed using a 1:1 ratio. Stir until they are fully blended and there are no visible colour streaks.
- Pour the silicone rubber: Once mixed, carefully pour the rubber into the mould container. Pour into the side of the container to let it fill up slowly, as this will also help to avoid bubbles forming.
- Cure the mould: It usually takes around 4-6 hours to cure a silicone mould at room temperature, although this can vary depending on the kit you are using. To avoid any uncertainty, letting it cure overnight should be long enough.
- Remove the mould: When the mould is fully cured you can remove it from the container. If you are using a plastic container, it should be pretty easy to take out by simply cutting the sides.
- Take out the candle mould: For simple shapes, you should be able to peel the mould on one side to remove the model quite easily. Otherwise, you may need to use a sharp knife to cut the silicone mould to take it out. Cutting the mould into two halves is also an option – this shouldn’t break it and you can always use parcel tape or elastic bands to hold it together if you are worried about leaks.
- Pierce the bottom of the mould: The last thing to do is to pierce the bottom of the mould so you thread a wick through the middle for your candle later.
With the DIY candle mould ready to use, the only thing left to do is to melt some wax to make your own candle.

What is the best wax to use for candle moulds?
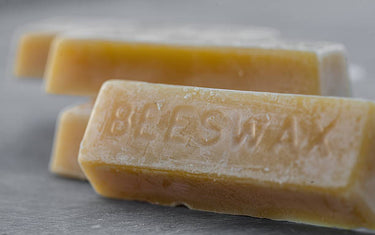
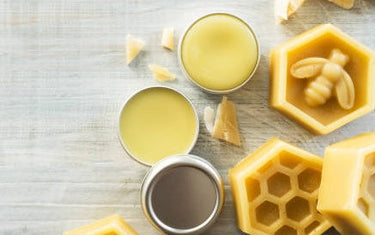
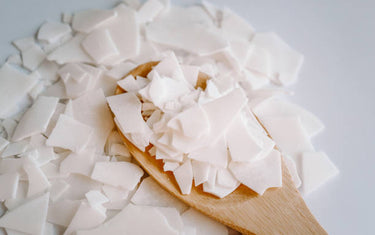
Soy wax, beeswax and palm wax are the best natural options for making candles at home.
Some people also use paraffin wax, although this is sourced from a combination of coal, oil shale and petroleum and can contain carcinogens (cancer-causing agents) so is perhaps best avoided.
The important thing to check is that the wax has a minimum melting point of around 140°F. Ideally, you will want a hard wax that is able to retain its form as it burns, with some soft waxes being specifically intended for use in containers.
For example, some types of coconut waxes and soy waxes can prove difficult to remove from a mould and finer details of a more intricate design could be left behind.
When these types of waxes are burnt, they can quickly lose shape and create a lot of mess that is difficult to clean up.
If you want to put wax into a mould, be sure to look for wax that is intended for use in candle moulds, as taking it out of the mould and burning it will be much easier to manage.

Making candle moulds is fun and easy, and when made well, they can last for years to come.
Whether you want to enjoy the moulds at home, give them away as gifts or perhaps start your own arts and crafts business to earn a little extra cash, there is almost no limit to how creative you can be.
And if you’re already an accomplished candlemaker, perfecting moulds should be next on your list of things to do!
Join Nikura’s wholesale program to gain access to exclusive discounts on our range of waxes and fragrances, perfect for those looking to sell their creations or elevate their candle businesses!


